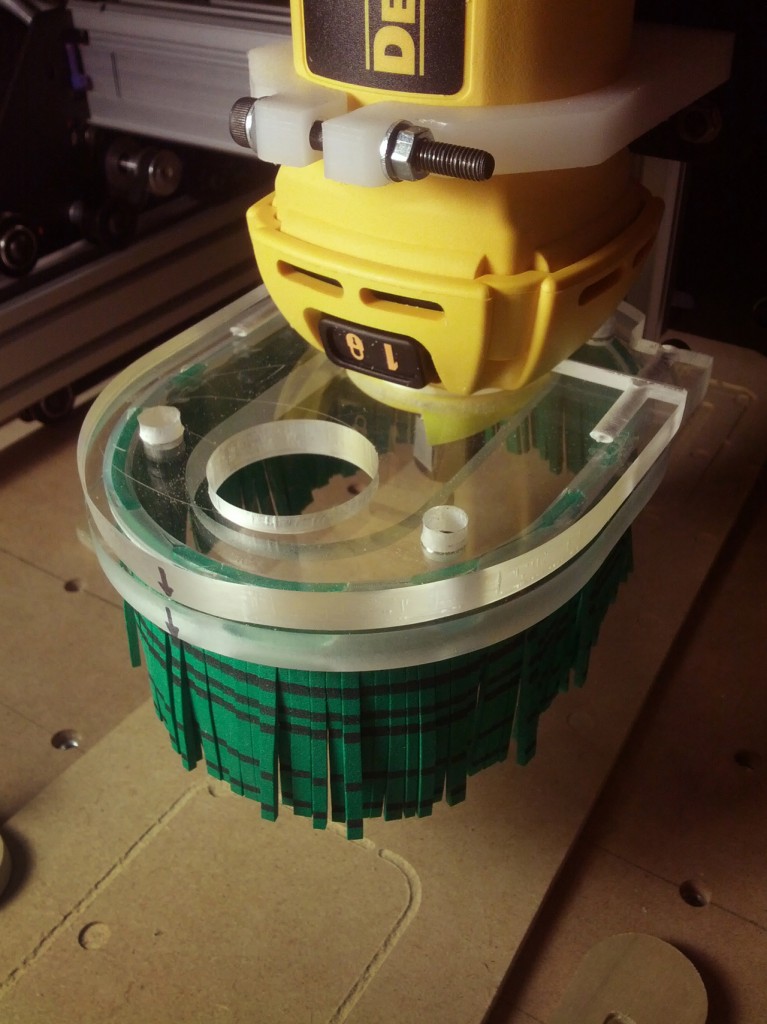
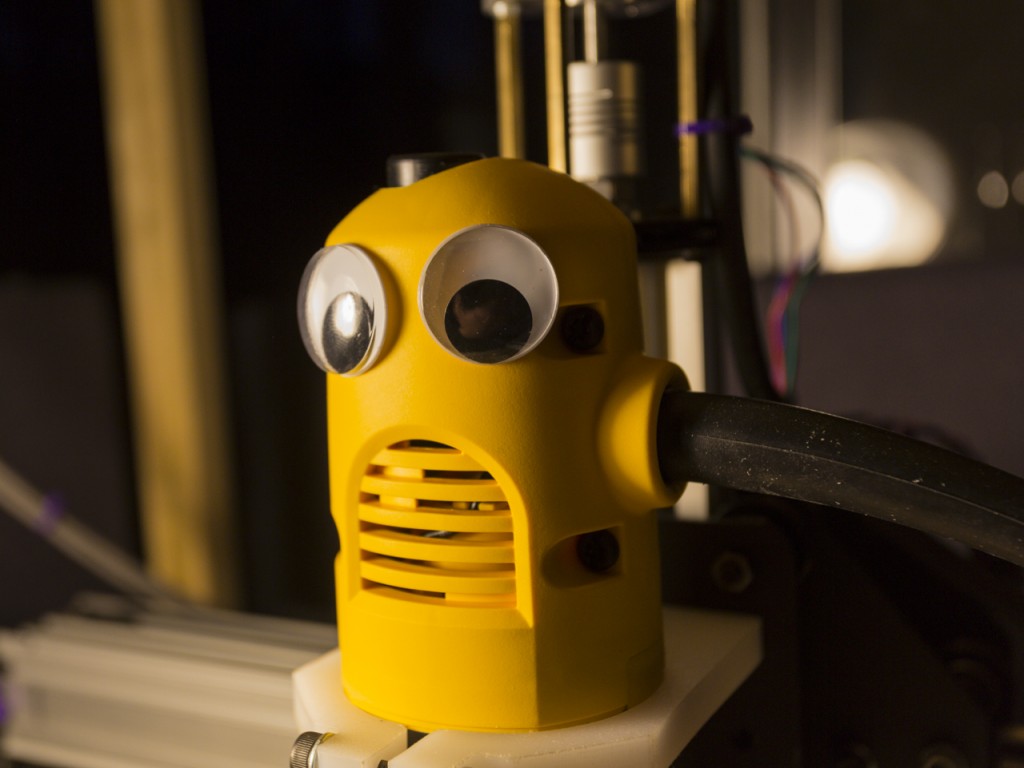
Several years ago I made 22 absorptive panels for my edit suite at work. These let me control the number and amount of reflective surfaces in the room. This is great for accurate listening so the room does not color the mix. When we moved into our new building, all the edit suites received new sound panels. Most of the panels were given to my church to try to fight some of the issues in our main room, but I also kept a few for myself. These have an NRC (Noise Reduction Coefficient) of 1. With these panels, most frequencies above about 400Hz are totally absorbed. While this is all well and great on paper, I wanted to do some rough testing of what I might really see as a reduction. These were very rough and fairly unscientific tests, so in theory, the end results will be even better than this. I did all testing at 1 meter from the sound source, which is 1. a very loud vacuum and 2. a very loud DeWalt DW660. The software is “Audio Tool” (clevar name) on an Android phone. I did some checking into the specs of the mic on the phone and it has a maximum sensitivity up to 90dB. So as the actual levels, they may be louder than what I am able to read, but it will get me close. To support my phone, I used a highly scientific bar stool with an even more scientific piece of wood sitting on top of it. I did not want the cushion of the stool to absorb the sound and give a false reading.
 If I learned anything from Mythbusters (and science class years ago), you need a control. Here is a recording of the baseline room noise. These samples are roughly a minute in length. You can see that aside from my dog laying down and then dropping something a few seconds later. You can see some noise from the A/C as well. The base SPL is roughly 48dB.
 I did not have any way to really hold the panels to test them with the DeWalt (again, this was not a completely scientific test, just trying to get a rough idea. There is a very solid tone just under 500Hz. This tapers off, then picks up again around 750Hz and stays strong up through around 7K. There is what looks like clipped level right around 6.5K, you can see a harmonic of this around 13k. About 2/3 of the way down the picture you can see the line under 500Hz swing off to the left. This is me shutting off the DeWalt.

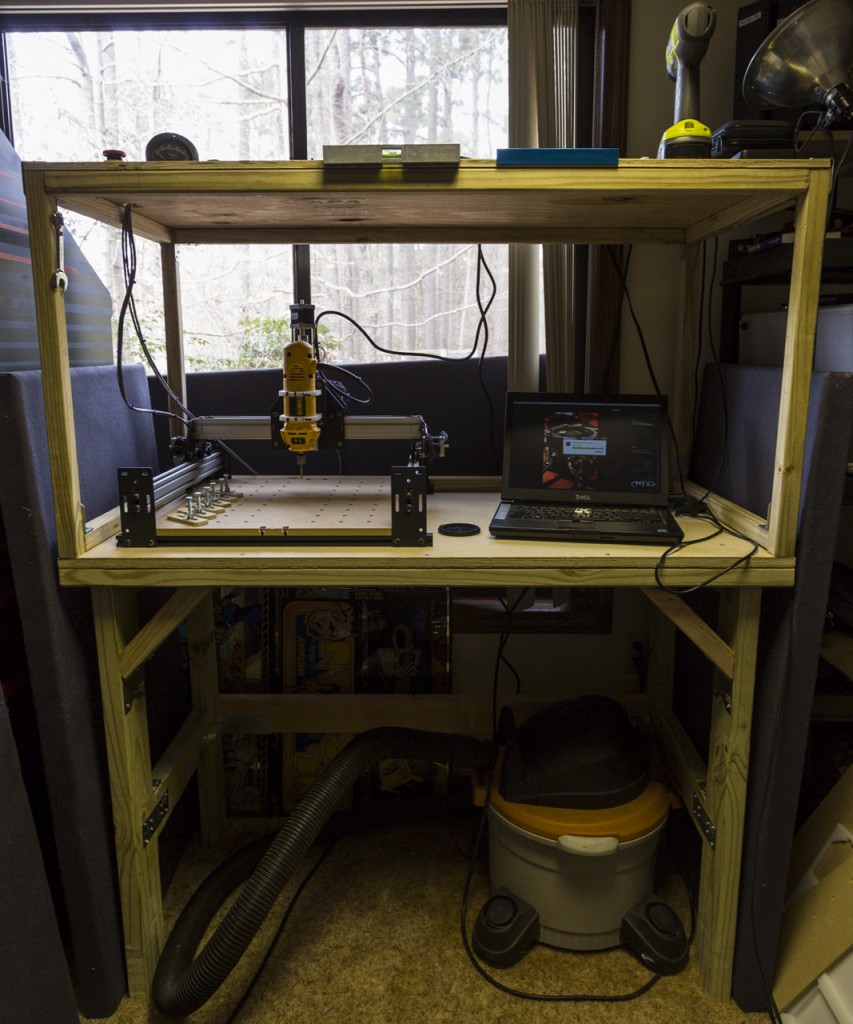
I did not want to pull the Shapeoko off the table, and I am not yet ready to cut the panels down yet, so I shoved a panel behind the table, resting it on the window sill, shoved 2 other panels in along the sides, and held a panel in front of the table. Again, very scientific right? While the scream at 500Hz is still fairly present, the level is reduced for sure. But check out the what happened to the levels above 1K. This is crazy good to see. Near full reduction except for various frequencies between 3-5k. The 2 peaks around 6.28k (as shown) and 13k, while reduced still very present. This reading comes from what would be a horrible job of an installation of sound reduction material. When I get this actually enclosed, this may really do the trick.
 Next up, I did a recording of the vacuum. This first image is with no noise reduction. You can see very high levels around 150Hz, with a second peak from roughly 1.7k – 6kHz. The Nexus phone mic is reading is 88dB, so it is possible that it is louder. I may borrow the dB meter from work to retest with proper equipment. Being that the vaccum was not attached to the table, this was much easier to test. I made a little triangular room out of the panels and placed the last one on top (see the images below).
 The first measurement was taken with the vacuum hose coming out of the front of the structure of panels. While things quieted down substantially this revealed how much air noise a vacuum makes by itself with air rushing through. Here you can still a strong presence around 150Hz, but no where near the levels they were before. From just below 1k to just above 2k you can see near full attenuation.

Lastly we have the vacuum with the hose moved to the back. Being that there is no wooshing air noise directly in front of us, you can see an even greater reduction around 150Hz, and from roughly 600Hz and above there is a near full reduction.


