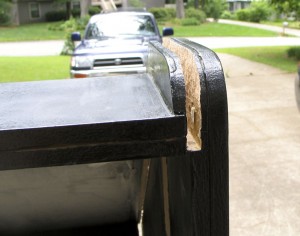
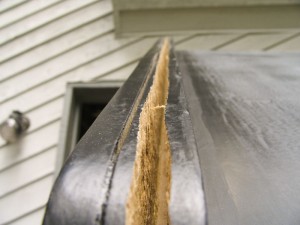
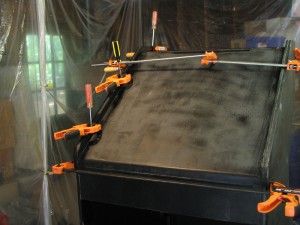
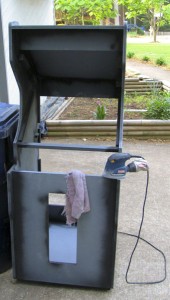
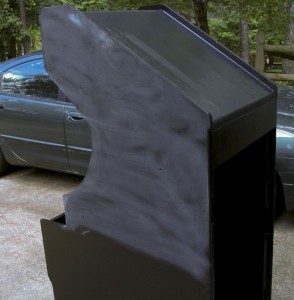
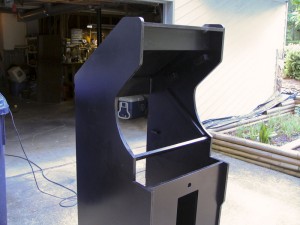
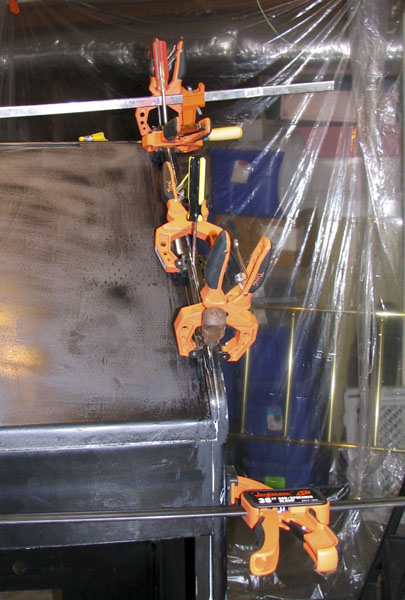
After the near demise of the cabinet, I thought that I would take things a little slower. I also decided that I would not make any posts until I reached a mile marker. This way I would not be trying to hastily make decisions I might regret later on. It may sound stupid, but there were several times that I rushed through something, just so I would have pictures to post. It is partly why I couldn’t wait for someone to help me lift the cab. I had to do it myself…right then. Having a 6 month project nearly go to splinters, right before your eyes, will adjust your thinking a little.
SIDE ART P.1
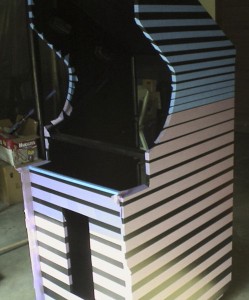
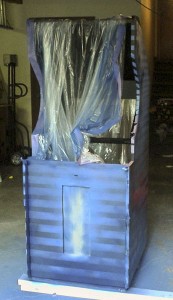
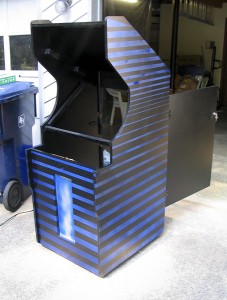
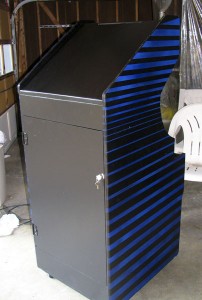
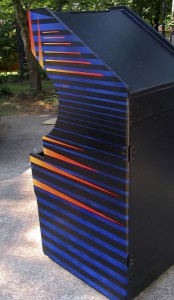
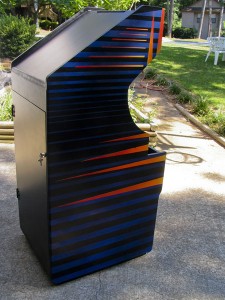
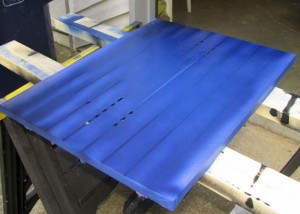
Earlier, you saw a mock up of the side art. I decided to take the CP theme and put it on the sides too. So, After the cab was mended and I put a fresh new coat of paint on it, I went to work on the side art. In the background of the CP is a blue haze that sort of clouds with black. This has sharp black lines that seem to disappear into the distance. I decided to invert this for the side art. Using 2 inch painters tape I placed the first line (at the bottom). I Measured up 2 inches and placed another strip. Then I went up 1/8th short of 2 inches, then 1/4 shorter and so on. Each line getting an 1/8th of an inch closer together than the previous line. When I got down to a 1/8 in stripe between tape, I switched to 3/4 in painters tape. I did 3 lines at 1/8 in. Then I started expanding again at 1/8th of an inch. Being that the strips were 3/4 inch the expansion happened much faster towards the top. I did this on both sides and in the front. I then masked off the whole rest of the cab to prevent overspray. I decided to use Rust O Lium Painters Touch spray-paint because there was such a beautiful range of colors available. I used 3 colors of blue and black for the stripes. I started with an initial base of dark blue. Then moving outwards I introduced a lighter blue being careful to just gently blend the colors. Toward the edges I just faintly misted an even lighter blue. Then very sparingly I sprayed little puffs of satin black to give a sort of nebulous look.
Speaker board
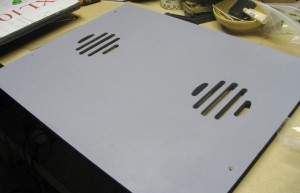
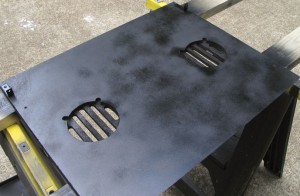
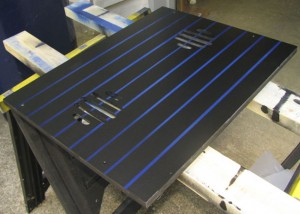
I am using 5.25 in SPL speakers. I measured and started planning the speaker board. I used a compass to draw the circles as I could not find any glasses, coffee cans, soda bottles, or anything that was 5.25 in. I wanted to not see the speaker. I wanted the classic arcade slotted hole thing (look at Donkey Kong). So I measured and drew that all out. In my planning, I wanted a little cavity directly below the speaker before the slots. This is for maximum airflow for the best sound possible. I did not want the speaker banging against the MDF during heated game play.
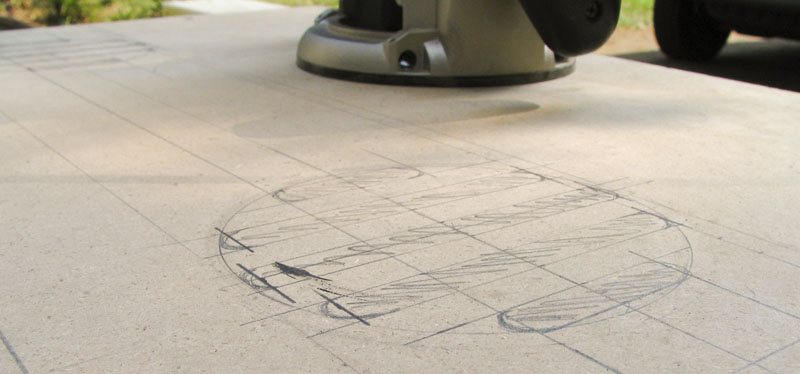
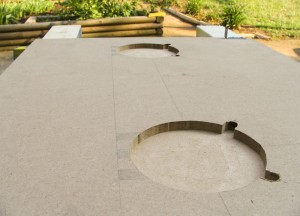
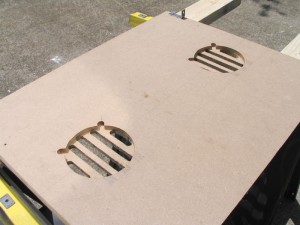 I decided to route freehand vs. making a template. I had to do this for the trackball body hole and felt pretty comfortable doing it. So, I routed the speaker side first. The depth was 5/16, so I went roughly half way through the MDF. I started in the center and made my way outwards (learned that the hard way with the track ball hole). I left 2 notches at 45 degree angles for something I will be adding later. I flipped the board over and then did the slots. I did use a guide for the slots. After that was all done, I spray primed, and painted the speaker side of the board. The player side of the board I did a proper prime/sand and painting of.
CP Plexi.
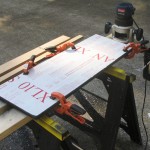
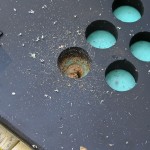
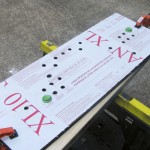
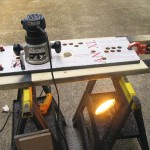
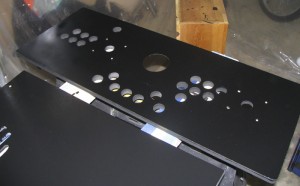
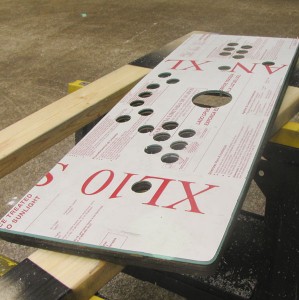
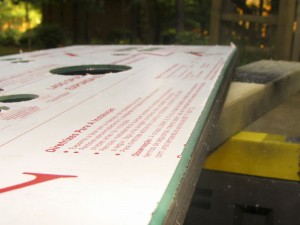
Having clamped the plexi to the CP board, I took off the edges of the plexi using the laminate bit with the router. The little bearing at the bottom of the bit let me easily trace around the CP as it mulched away the excess plexi. I then drilled 2 holes and routed them out for 2 of the pushbuttons. This was so I could insert the pushbuttons during the rest of the drilling and routing so that it would not shift. This worked very well. I flipped the CP over so I could see the button holes. I placed a board under the plexi to reduce the chance of cracking when the drill popped out the other side. I used a big enough drill bit for the laminate bit to fit through and I drilled all the holes. I flipped the CP back over to work on the top. I shined a light up through the plexi so I could see where I was routing. This was very helpful for the trackball hole. I then used a 1/8 in round over routing bit for the edges of the CPO and trackball hole. Routing the edges does not leave it very smooth so I experimented with a number of things, but eventually I used a combination of super fine sand paper, Dremel buffing compound, novus 2, and a heck of a lot of elbow grease. Eventually I got the edge to a nice lens like surface.
 |
 |
CP TB Hole Bondo
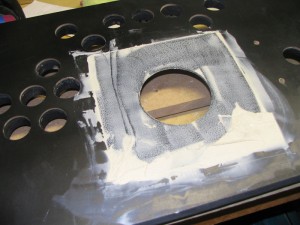
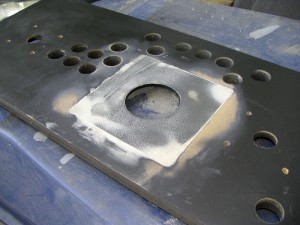
There was a little void between the edge of the trackball plate, and the CP. There was only a little space, but I did not want the (CPO) Control Panel Overlay to settle into the crack. So, I made up a batch of Bondo and schlopped it in there. When I bought my Happs trackball and top plate off ebay, the seller sent one with a hammered finish, not flat black as I requested. So, I used the remaining Bondo and schmeared it across the surface of the plate. When it was hard, I sanded it all nice and smooth. I then sprayed it to a fine finish.
CPO Arrived
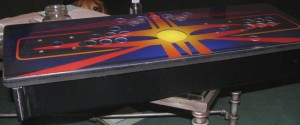
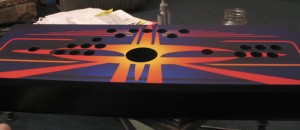
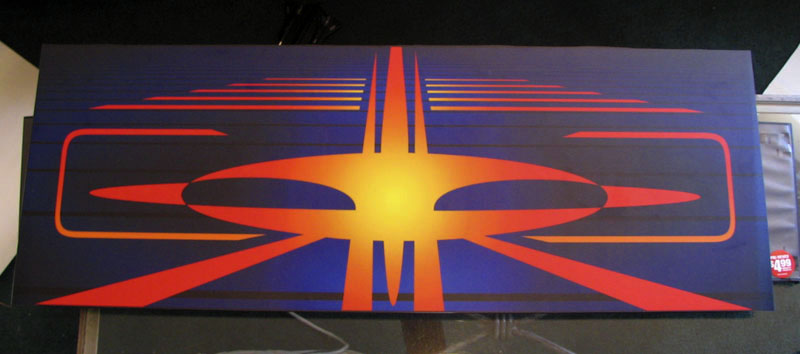
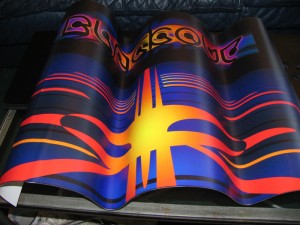 I finished the art for the CPO and sent it to MAME Marquees. (Update: MAME Marquees is now Game On Grafix). Once again they did a wonderful job on the Print. It is very rich and the colors are spot on! There is a thrill when you design something and get it printed full sized. The CPO has a sort of spring memory which made it hard to work with during the install as it comes rolled up. I have done several CPO installs but they all get really intense as you really only get one shot. The adhesive is very sticky and once it is placed, it is incredibly hard to remove without creases or stretching it.
Side Art pt. 2
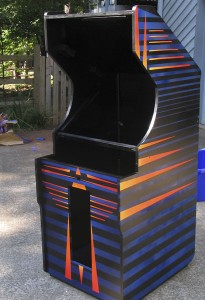
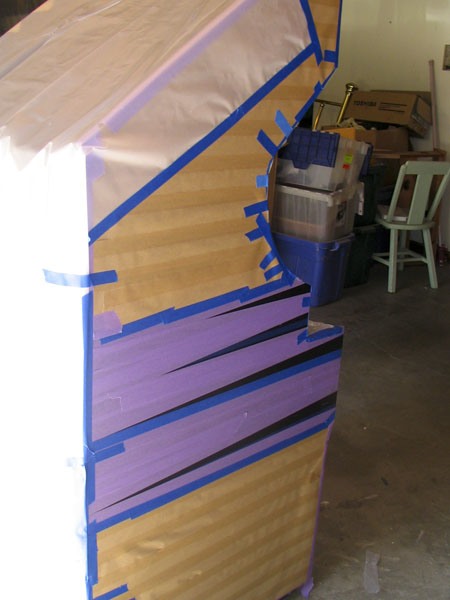
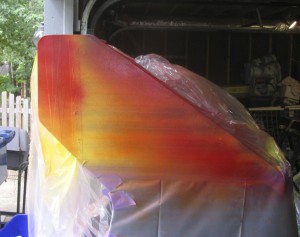 I have been watching my receipt totals increasing and increasing, so I decided against a laser cut stencil as it was going to run between $80-$100. I started thinking about what might look cool. I did want the feel of the CPO as it really sets the tone for everything else. I knew that getting the smooth curves correct would be really hard freehanded, so I decided against the center image on the CP. Anything with lines or angles could be done with masking tape as a stencil. I decided to do the top and bottom of the cabinet in two separate stages. Starting with the top, it was tape, tape, and more tape. Then I added more tape.
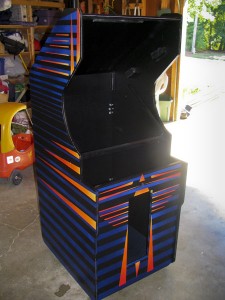
 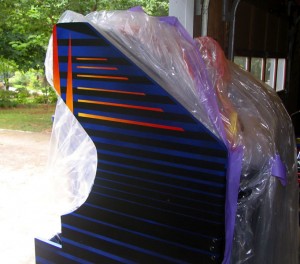 Then for safety I applied tons of masking paper. About 3 hours later I was ready to paint. I was kind of nervous, yet excited about this part. It was a total blast, and once I pulled off all the masking, I totally loved what I saw and decided to proceed with the bottom and front. The side and front art is free formed. I only had of end image in my mind that I was reaching for. This was great fun as so much of the build has been totally rigid and to some specification. This was really more like art creation because I could just play. Once I got one side finished, it became a little more difficult as I had to mirror it on the other side, but in the scale of difficulty, seeing some of the stuff I have done lately, it was not hard at all.
 |
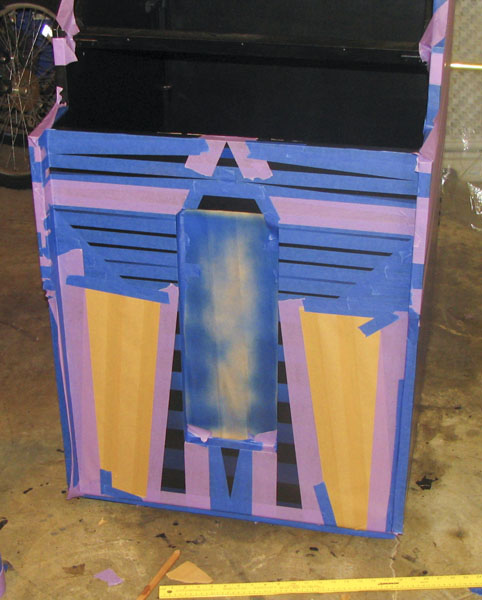 |
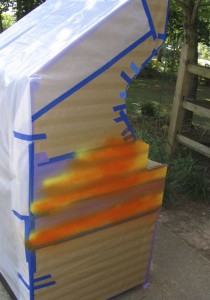
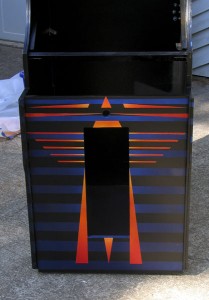
The center was a little different. I did not have something to mirror. I sat on the floor in front of it and started placing masking tape. After a while it started to take shape. I had to keep thinking this as a negative. As I was designing, it was all blue and black against a background of the tape color. Once painted, it would actually be the reverse of this. I guess the design is kind of a rocket sort of thing. One thing that struck me as odd (and a little scary), but on the front, in the center I have a hole for the cab power on button. When I was doing all the taping I made a couple of angles at the top. Then because of the side angles there was a straight line across the upper area of the triangle. I did not see this before I painted it because of the negative thing, but the triangle with the circle looks like the All Seeing Eye / Illuminati symbol.
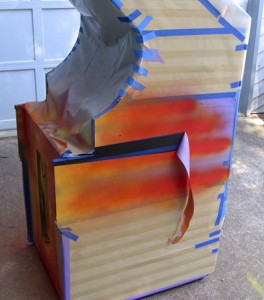
For the paint, I used Rust-o-lium Painters Choice again. This time the colors were Sun Yellow, Real Orange, and Apple Red. I started with yellow and painted a really solid coat. While it was still wet I hit it with orange. I stood at the back of the cab and aimed forwards. This way the back got the main blast and overspray would follow forward. I moved the can forward down the line, but always kept my angle. As I got closer and closer to the front, I got further and further away from the cab. Then I repeated with red. Then I did the whole cycle over again for touch up. The yellow I just gave a blast right at the tips (This time with an angle a little ways back) so the paint would spread. I then blended with the orange and finished the stripe with the red on the other end. While spraying I kept the can spraying and moving. Not short little bursts. Bursts cause a real distinction between the colors. A constant spray was the trick. Also bursts sometimes caused big specks of paint to come out which can goof up yer paint job.
Speaker board Art
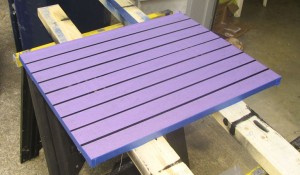
I wanted the speaker board to follow suit with the side art and CPO. So I taped up the Speaker board. I decided to keep this area much more simple. I did not want a lot of distraction reflecting into the glass while I am playing.
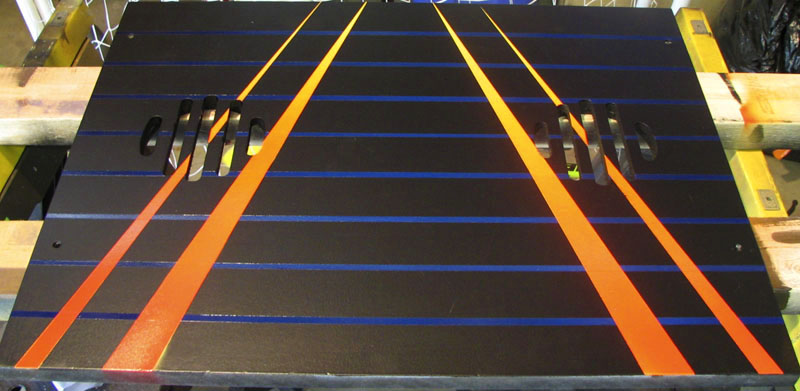
Things to mention…
1. This took a heck of a lot of tape.
I went through 2 rolls of the 2 in. tape, nearly 2 rolls of the 3/4 tape, almost 1 whole roll of the paper mask tape (has light adheisive on 1 side of the tape and just paper on the other 4 in wide).
2. The middle color (orange) ran out the fastest. I thought it would be the red.
3. when I used black on the sides and speaker board I went VERY sparingly.
CPO Part 2.
The overlay was on the board. I spent several days just looking at the CPO. It looked so nice. I did not want to cut into it. I just wanted to look at it. But a control panel is worthless if there are no buttons, trackball, or joysticks. Finally, I gave in and cut out all the holes. It was finally time to pull off the safety plastic from the plexi. The problem with this is that it attracts every piece of dust within a twenty mile radius. I cleaned and re-cleaned my plexi and started to put it on. Then I pulled it off and re-cleaned it again. I put on the plexi and saw all sorts of crap on it. So I cleaned it and re-cleaned it. Stupid static electricity. I eventually got the plexi clean (mostly) and placed it on the CP. I started to attach buttons (which actually holds the plexi place) and the trackball.


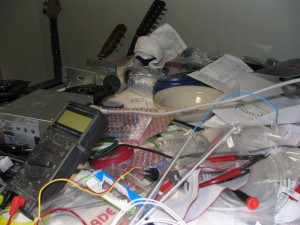 I have now hauled the thing upstairs to my game room. Then I began the process of installing the guts. It seems to be a fad with builders to use your Air Hockey table as a staging area for anything and everything that gets done in the game room. Well this game room is no exception. I stacked everything I intended to put into the cab on the air hockey table. Soon enough it all made it’s way onto the floor to the point where no one could walk through there. I eventually would get so frustrated with the mess that I would stop everything and clean the whole place just to repeat the cycle again.

