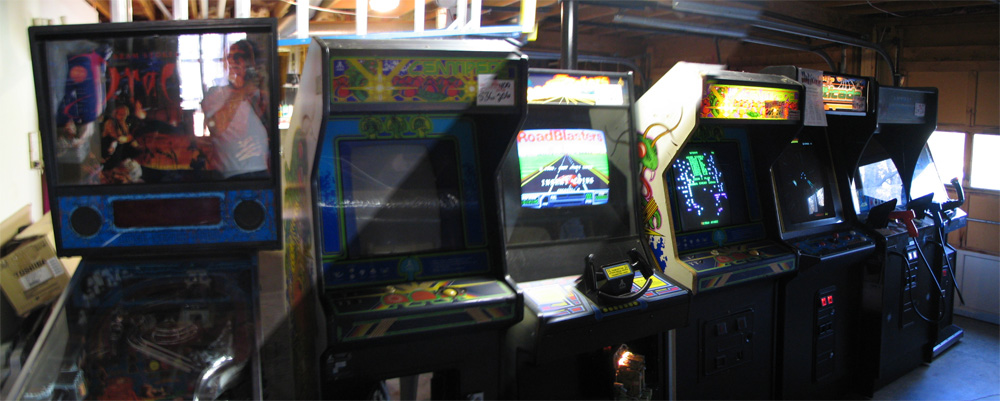
I went to the arcade auction. It was a lot of fun. There was so much to see and play. I came home with a few games. Plus Neal, who went with me, needed to store his games at my place for a little while. Oh darn. So, in my garage I have…
Centipede x 2
Multicade 39 game
ThunderBlade
RoadBlasters
Leathal Enforcers
Air Hockey (Big Sucker, too!!!)
After some sleep, some deep thought, and a tasty sandwich, I decided that I really don’t want to saw off the monitor brace. I will only if I have to. It would kill any resale value if I ever decided to upgrade to a larger size monitor and go horizontal. I am going to halt progress for a couple of days to really re-think the set up. I am also going to an arcade auction this weekend, so I am going to look at a bunch of machines and get more ideas.
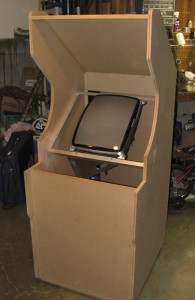 I put the monitor in to test the placement and angle. It looks great. So far the brace is quite firm and seems very secure. I am still a little nervous as that is a $180 monitor on a $17 brace. Two steps forward and one step back. I was running around measuring the bottom and top to make sure it was all centered. Then I went to shut the door and… um… the door wont shut!
I took into account for the depth of the monitor all the way back to the end of the stem. I did not take into consideration… The dang monitor bracket!!! The darn thing sticks 3/4 in. outside the back of the cab. I am totally befuddled!
 So it looks like I will be looking at a steeper angle. CRAP! I really wanted a laid back monitor. I can not really lift it up any more at the top because I need room for the speaker shelf. So if I lower the bottom, I am worried that it will be hard to look at as the monitor will be a very low vert monitor. I was too frustrated to really give it a look any more tonight. I will look at it again tomorrow.
Ok, well it turned out to be 5 holes, but again, wood putty is your friend. I initially did not take the control panel into consideration. Last night, when I was just on the edge of sleep, I shot wide awake with the realization that I was just looking at the frame through the place the CP would eventually be. I thought I had plenty of space when in fact I was eating into the space where the CP would be. Trying to be too safe, I had only made one pilot hole just to get an idea of height and look, so I did not see this coming.
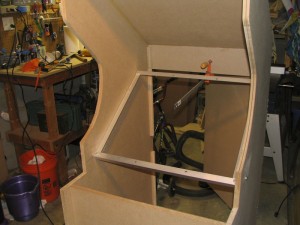
So, this morning I used a clamp attached to the back of the cabinet to adjust the height for the top of the brace. This way I could adjust and go and look in front, from a little distance, without hands on the frame. Once I found what I liked then I marked it, drilled it, and bolted it together. I took out the top bolts and laid the brace down horizontal and measured it level. I then took 2 wood blocks (the same type as I have been using for my corner braces) and glued them for this just below the side rails (Another idea I stole this idea from my Taito cab). This way I can unbolt the top and bottom rails, attach the monitor to them, and then lay the monitor in the cab in a horizontal position. I can then bolt the top and bottom rails back on and raise it into position. This is a safety feature for the monitor really.
 |
 |
 |
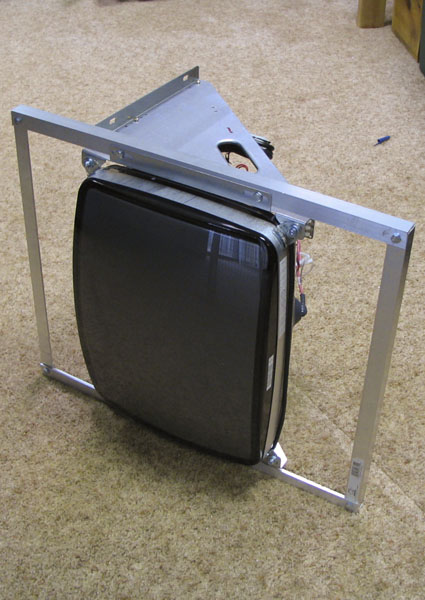 I have not done a whole lot this weekend as I have been under the oppressive forces of a cold. OK, that was a little dramatic. It is time to make the monitor brace. This weekend I got a 96 inch long piece of 1 inch heavy aluminum corner bracing. Since my monitor is going to be a vertical set up, I can not just mount it on a shelf like many builders are doing. After a lot of thinking about it, and spending a lot of time wandering around Home Depot (Oh darn) This is the solution I came up with. I would make a brace similar to the TAITO cabs. They used wood bolted at the bottom and top of the monitor and bolt that to the sides of the cabinet using the bottom bolts as a fulcrum. I will do the same with aluminum as I like the strength and look of it. I cut it into 2 – 25 in and 2 – 20.5 in pieces. I drilled 1/4 in holes in the ends and put it together with 1/4 – 3/4 in long bolts. This was a great place for my son to help. He is always watching and asking if he can help. It would not be cool to just hand him the Sawzall and say here ya go kid, so, he got to put the frame together. I did the final tightening (just for safety sake). I measured the bolt holes on the monitor, put holes at 8 1/8in. in from the edges, and then bolted the monitor on. A little nervous, I grabbed the sides and lifted up the brace. It was totally solid. Now I have to put four carriage bolts through the sides of my cab. Two bolts will be for the bottom of the brace and two more for the top. The hard part right now is trying to figure out what angle I want the monitor at. I have to figure in bezel, and glass height into the angle. I am scared to death about drilling into the side of this thing and I only want to put 4 holes in the side of my cab 1 time. It seems like the more you do, and finally get right, that the fear of some great catastrophe seems to increase.
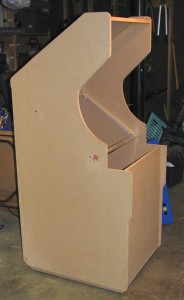
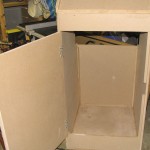
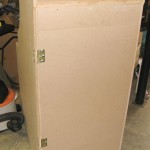
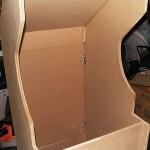
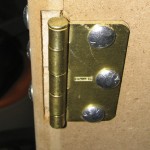
I have now glued the back on it and added the door. It is looking more and more like an actual arcade cab. I wanted the hinges to be inset so that the whole hinge was not just sitting outside of the box like you would see on a house door. I routed out a little area for the hinge nub to sit so the door would sit flat to the edge of the cabinet.
I have one issue with the back door. It is like the door is warped. I am not sure if the hinges are off or what. I am not too concerned about it as it is really not that big of a bend. But I will keep an eye on it.
 |
 |
 |
 |

