 I have been interested in natural energies for a long time. Even back before it was the cool, “in” thing. I am being a touch snarky as I hate how the media can dictate a fad. “Red is the new orange” and all that. I guess this is not really the point is it? So, yeah, I have been interested in natural energies for a long time. I used to live in California. There was a rather steep hill in our back yard. From the top, I could see the wind farm that was close by. There were so many great shapes and methods of working. If you drove east, there were stretches of windmills that went on for miles. They were so massive. I think that this was some sort of testing ground as there were the traditional designs in a variety of forms. But then, there were these oddball designs unlike I had ever seen. They looked like a bastardized carrot peeler stood up on end, and a big one at that. These things captured my imagination. They were VAWTs or Vertical Axis Wind Turbines. It was not immediately obvious how they worked. We moved from Ca. and I quickly forgot all about them.
A couple of years ago we went to Disney World. Walt has always been one of my inspirations. Here you have a guy who wanted to build cool stuff, and needed a way to fund it, and more, a place to put it. So he creates Disney Land. The day we went to EPCOT, I saw all sorts of windmills all over the park. They were used as more moving sculptures, not as electricity generating devices, but they were beautiful. They moved so effortlessly in very little wind. This was my spark.
When we returned home from DW, I went in search for info on windmills. Initially, I was reading about horizontals. I did not know what to name the verticals. In my mind they were just windmills. I checked one of my web hang outs “Instructables”. There were several DIY how to’s. Some had links to YouTube vids. After watching the vids, I was lured into other streams of vids. I traveled up and down all of these little bits of education, trying to scrape just a little more detail that someone else had left out. This seems to be my pattern for new interests. Eventually I found that they were called VAWTs (vertical axis wind turbine). I finally had a name to put to the thing. You know, as far as acronyms go, VAWT just looks intimidating. Right? Oh… never mind.
I started looking for a design to settle into. There are so many great ideas out there. Some that were super simple to rather complex and overly engineered. Hmmmm. While I do appreciate overly engineered, I did not want to go too crazy right out of the gate. There’s plenty of time later for that. Right now, I needed a proof of concept for myself. I am sure I have said this elsewhere, I do not like to make a photocopy of someone else’s idea. If that’s all I was interested in, I might as well just go out and buy one. I saw a post somewhere about Jay Leno. Apparently he is very interested in all types of green energies. This video shows one of his earlier windmills. It is built by a company called Enviro Energies.
Edit: The video is no longer available as the company has gone out of business, link removed.
Update: Someone put the video on youTube with another company name on it, so I am linking to it again.
The shape of that windmill was well within my doing. It was head out to home depot in search for metal that would not rust. I found some galvanized flashing sheets. I got 2 sheets for $6. I would not supposed to though. When I went to pay for it, the lady said that it they would be 28 dollars. I told her that it was $6. We went on a walk back to the shelf where I found them. Apparently this was the price of an old item and had not been updated. She said that it was their fault and gave it to me for the price that was listed. Woohoo!
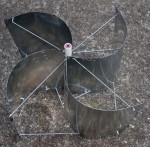
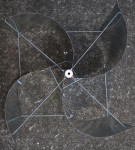
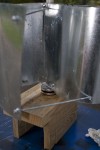
 I used only one sheet of the flashing, cut it into 4ths with the angle grinder. I had some PVC tubing in my garage. I cut a small length. I drilled 4 holes at 90 degrees to each other (eyeballed), and attached the sheets with rivets. The trick here is precision folks (insert snirk here). I am sure that there was some serious math taken into consideration when Enviro Energies were developing their model. Aside from trying to keep the thing balanced, this thing was built on the fly. It was a rough draft. I wanted to see it work before I put mass amounts of energy into it.
I used several lengths of all-thread to hold the blades in place. I decided to keep the full height of the blades unlike the blades on Jay’s. There very well may be a reason to swoop them off like that, but it seems like you would loose too much surface. I purchased some bearings off eBay. These fit perfectly into the PVC tubes. I scrounged the center shaft out of an old printer that my son and I took apart.
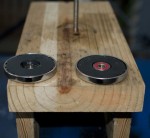
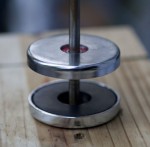
 I like the idea of mag lev to reduce friction. I went out to ACE in hopes to find some magnets. I found some fairly decent 60lb. magnets. I super glued a set of bearings to the center of the magnet cap. I placed the magnets on the shaft. I put the windmill on top of that and it floated nicely. Very cool! To get some extra height, I set up a ladder on our back porch. I set the windmill on top of it, and used a ratchet strap to secure it in place.
It works great. In wind that is barely perceivable, it just spins. It is not super fast, but it is continuous. This one was not designed for electricity. Again, it is a test of design (or lack there of). The next one will be larger and placed on something a lot higher. It was quite impressive to watch.
This post ends with a small bit of bad news. We got a storm one night. I love storms and this was a good one. The wind was fairly extreme. I was in the kitchen and had not thought about the fact that the wind mill was up. I heard a sickening whomp from the back of the house, then about a second later, a sad little clang. I ran to the back porch and found that the ladder was there, but no windmill. The ladder on it’s side leaning against the rail. I went down stairs, and into the back yard, and there lay my poor little windmill in a heap of bent metal. It was sort of funny, and sort of sad, but more funny. I am excited about building another one.
SAFETY NOTE: (Both galvanized steel and the disks from the angle grinder can produce substances that “may cause cancer” in the state of California. It is what the label said. Now, I am no genius, but I have a hunch that it might also be harmful in other places too. Hmmm. Seriously though, be safe and wear some sort of respirator, or at least a face mask if you are using this stuff.
Edit:(New Info) – I have recently found some info that states that friction reduction via mag lev may actually not be helping that much. It appeared to make things run more smoothly on mine, but I have no real way of testing aside from what I saw visually. The article I read had all sorts scientific proof blah using all sorts of crazy high math blah blah, with all sorts of clever symbols found in the reverse engineering of a UFO tech in Roswell. Ok, I admit it, I suck at math. I do pretty well when I have something to apply the math to. I tried to follow this guy, but come on… Really? So I have not settled into a new design yet.

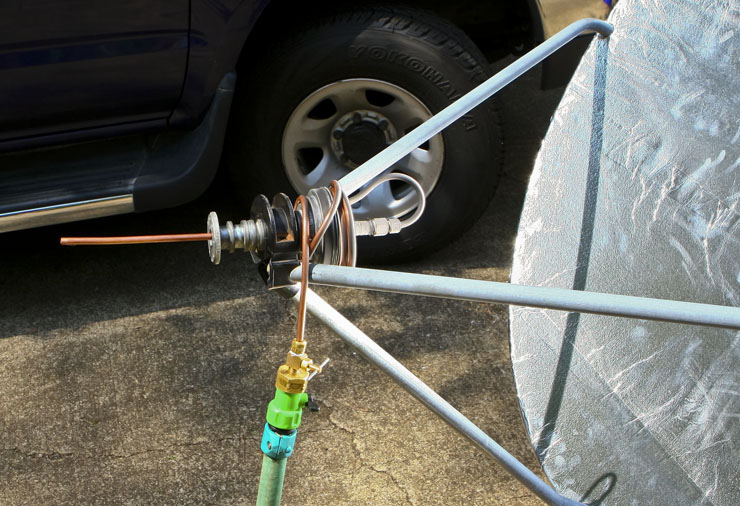
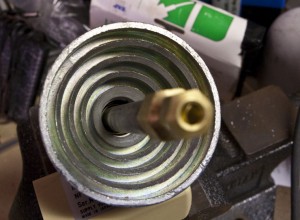
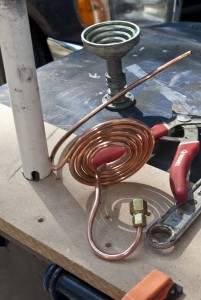
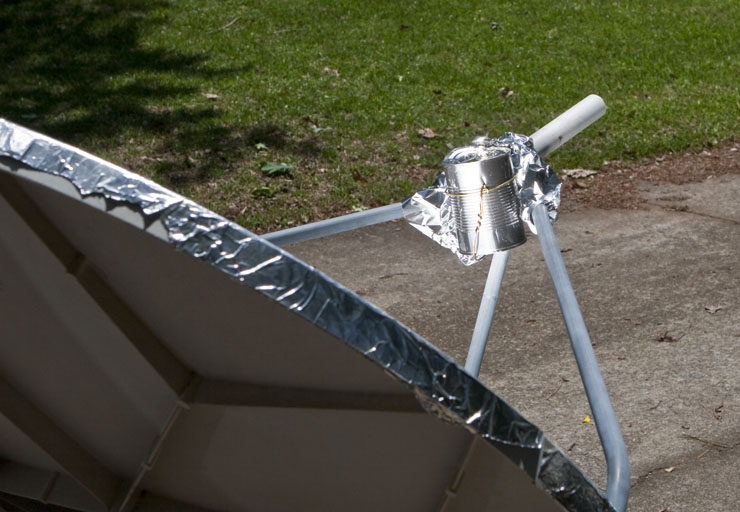
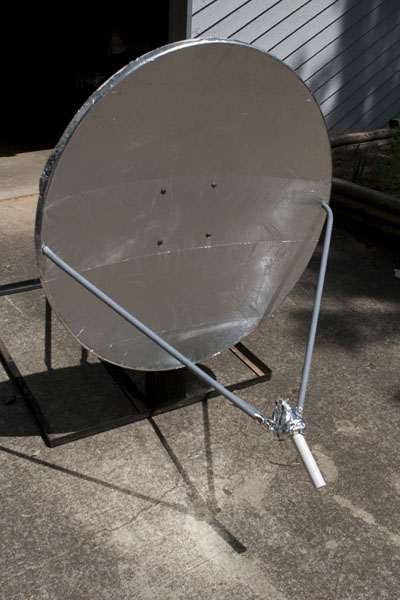
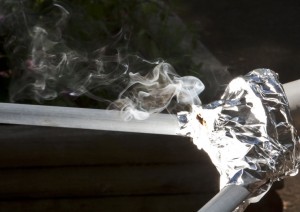
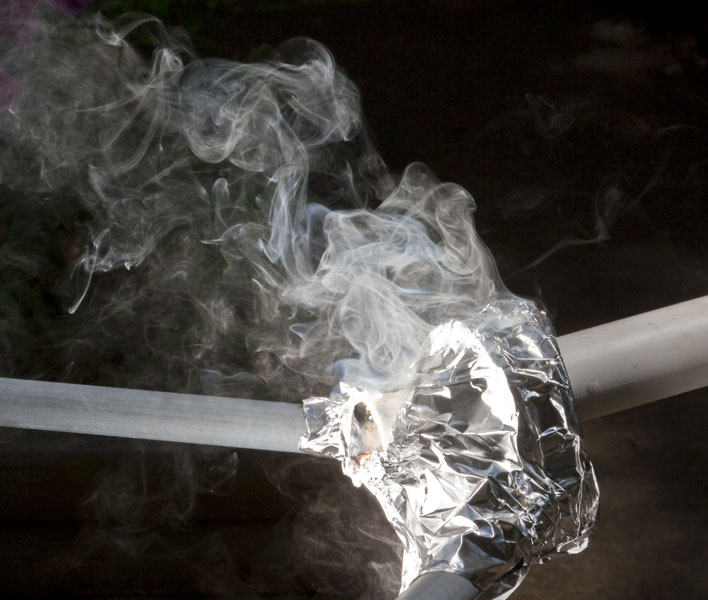
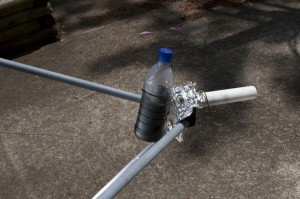
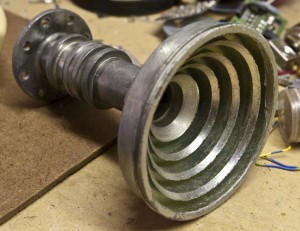 I wanted to see if I could get a solid stream of steam. If not steam, at least a good flow of hot water. Perhaps a insanely large tea maker. My hope was that if I could get steam, I can turn a small turbine. I looked again at the feed horn. I decided to pull off all the stuff that might melt. It was a actually a rather nice looking piece of machined aluminum. If I wasn’t so intent on making this solar thingmabob, I could see it being a very Star Wars candle holder or wine goblet. Since this piece fits perfectly into the holder (as it was sort of designed to be there), it will be used as the mount for my steam chamber. My thought is this, if I can get the water to flow slowly enough, and get a