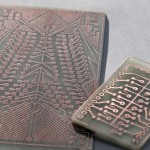
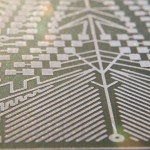
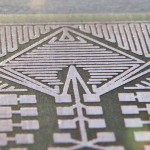
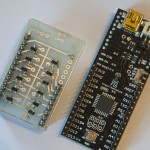
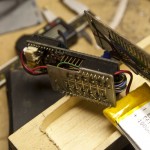
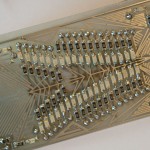
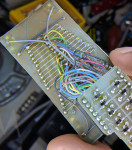
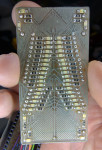
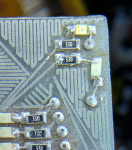
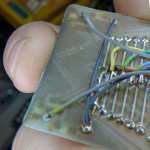
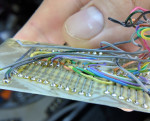
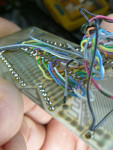
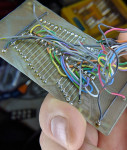
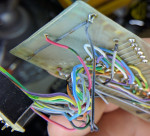
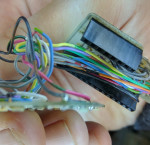
 Several people have asked about how I get my PCB boards burned with the results. For a long time I have promised that I would put up a tutorial about how to do it. So, I have an 8 hour drive ahead of me, so here you have it.
Having built a brazillion PCBs on perf board, I wanted something a little more custom. A few years ago, out of ‘necessity’, I decided to learn how to burn my own boards. I routed around online for several days, reading and watching many different methods of how to get the job done. I settled on Eagle Cad for the PCB design and layout. I will not go into how to use Eagle as there are already a number of good tutorials out there. Some of the best I found were this one and this one from Sparkfun. The first couple of boards I designed were slow going. As with all things, it got easier, and I got faster. What I found interesting is how designing on the screen has made clear things would not work on the physical breadboard. When you see the physical connectivity of everything, it just makes more sense.
For the actual boards, I tried a few different methods, but kept getting so-so results. I had seen the Pulsar FX website and read it front to back. For a product web site, there is an amazing amount of “How to” information on their site. I called and spoke with Frank (the owner) about his product. It turns out that he is a fellow tweaker and really cool guy. While I called to talk about his product, I had a great time talking to him about all sorts of geeky things. That is actually what sealed the deal. I bought the laminator a package of the transfer paper and some of the green ‘foil’. You can find his transfer paper on Amazon.
Having done the magazine thing with an iron, you don’t always walk away with good results. The special paper you buy from Pulsar is not a gimmick. If you follow the directions and use the right toner it works very well. I would not have thought that toner would have made that big of difference, but it did. I had some cheap generic toner in my printer and it fell apart. The second I used real, name brand toner, the whole quality game changed. My lines were solid and crisp. It was at that point that I started bringing my trace sizes down. While the product says I can get down to 6 mil (.006 inch), I stayed at a minimum of 10 mil.
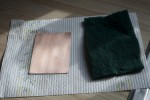
Before I start to prepare the toner paper, I get the laminator plugged in and turned on. You want it fully hot when you transfer the toner to the board. You will also want to prep your board here as well. I cut my boards using an old paper cutter. After cutting the boards, I sand the edges using a fine grain sand paper as they tend to be a little sharp. I like the look of rounded edges on PCBs so I sand the edges round as well. This also helps prevent holes when etching (more on this later).

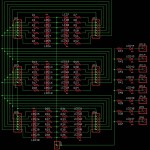
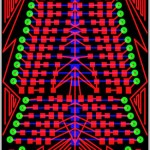
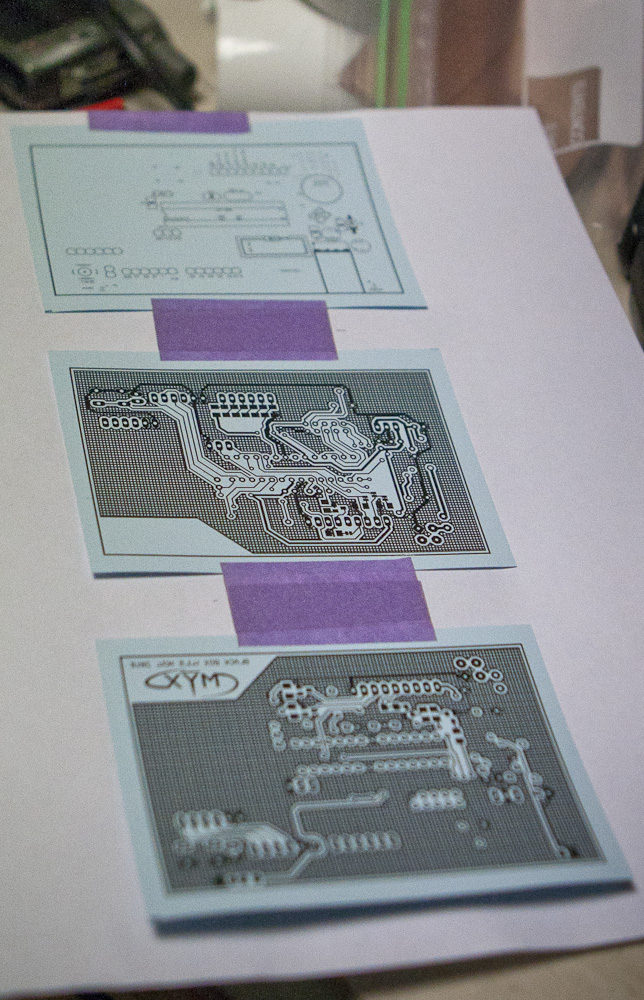 Ok, time to get down to business. While the following is more on how to produce a 2 sided PCB, the same concepts can be used for making single sided boards. I export the PCBs out of Eagle at 300 dpi. There should be 3 or 4 files (Top, Bottom, Front Silk, Bottom Silk). In this case I have 3. I use Photoshop to process my boards. I lay out all 3 files on one page. Eagle sends out a positive image of the board, so I invert the black and white. Any boards using the top must be horizontally flipped so it appears properly when it is etched onto the board. Once everything is set, I make a print to serve as a template for the toner transfer paper.
I cut out 3 pieces of the toner transfer paper (TTP). I cut about a 1/4 inch extra on all sides to leave room for a little play in where the printer prints as well as the possibility of not placing the paper exactly centered. I use a light stick painters tape and tape the TTP over the print on the pre-printed page. I position the page on the manual feed on the printer and print again. When it comes out, the toner is now printed on the TTP (sorry… duh right?). I carefully pull off the painters tape. It is important that you pull carefully so the paper does not rip, and if it does (which sometimes happens), it does not rip into the print.
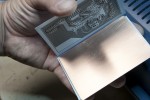
The next step is the moment that I dread the most. This is one of the steps that will either make or break the PCB. It probably does not need to be said, but alignment of the top and the bottom holes of a PCB is critical. I align the top and bottom by facing the prints towards each other. I use a wicked bright 3 watt LED headlamp and shine it through both layers of the TTP. I gently move the top around until I see a good portion of the PCB line up. I then zero in on the right hand side of the paper. Once it is about as close as one can get I squeeze with my right hand and then I move in the left side. Once everything seems to be all lined up, I use a piece of the painters tape and lock the 2 sides together to make a clam shell kind of shape (see the picture below).
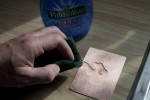
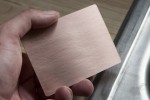
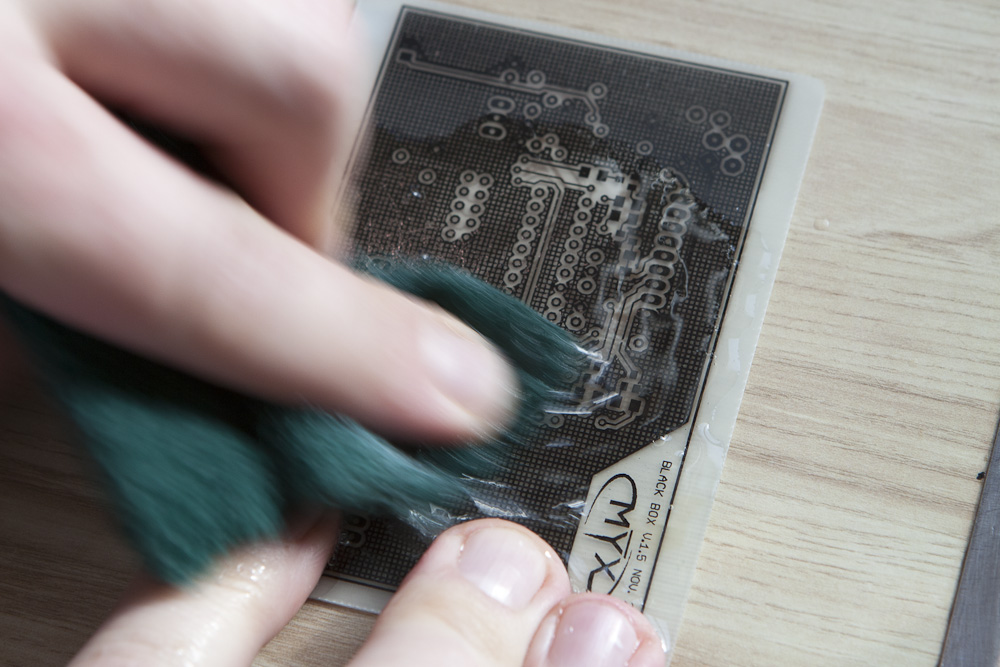
Before I commit the design to the copper, I clean the copper completely with a green scrubby pad. As you scrub it, you can see the copper get shiny. I do not (and recommend that you do not) use soap that uses oil in it’s ingredients for grease break up (like Dawn). You want the board completely free of oils so the toner will stick. At this point I fill a plate with warm water in preparation for the toner’d board.
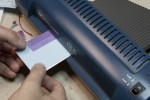
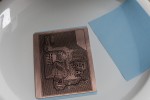
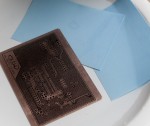
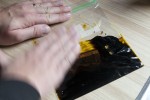
I place the board between the 2 sheets of TTP and make sure that the dimensions of the board are inside the area of the copper. I run it through the laminator 3 or 4 times flipping it over each time. I also move the board to a different position on the rollers so I get the maximum heat transfer per pass. I set the board and paper in the water.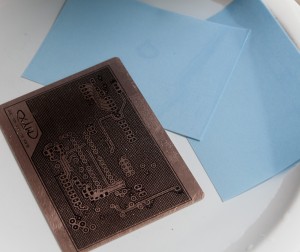 This is where the PulsarFX stuff rocks. I usually run my finger over the whole board to make sure it takes the water. I leave it for about 2 minutes, then I check it. The board will freely move when it has released from the paper so there is no question about when it is done. If the board moves it really moves too. It becomes slick on the paper. There is no scrubbing necessary, it just comes off clean.
If you are using the green foil, you would add it at this time. The foil fills in any pits or holes that the toner missed (within a certain amount). I do not have a picture of the green foil in this set as I was out of it. This is added to the board by placing it over the toner and running it through the laminator again. Anywhere the toner is, it sticks.
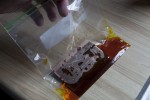
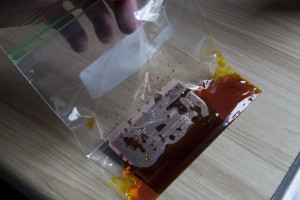 I really like one of the methods of etching the board found on the Pulsar site. The idea is to etch the board in about an ounce of Ferric Chloride inside a plastic ziplock bag. You then repeatedly run your finger over it to agitate the surface. This direct contact results in a really fast burn, which does a couple of things. It insures that no thin traces are over burned, resulting in broken traces. Also, this uses far less FC fluid (i.e. less waste). When I am done etching and cleaning the board, I throw the paper towels into the remaining solution, seal the bag, and toss it in the trash.
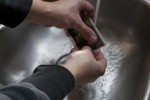
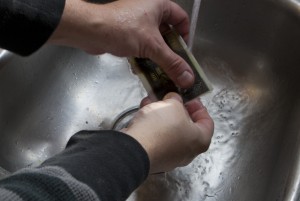 While swiping the surfaces of the board you will see the edges of the copper surface start to fade. Occasionally you will want to look through the board to check the condition of both sides. You want it as clear of any unwanted copper as possible. Again, being that this is such a quick process (3-5 minutes) you have plenty of time to make sure the board is clean. If you still see little remnants of copper, take the time to rework that area of the board in the etchant solution. Once the board is free of excess copper, I pull it out and clean it thoroughly. You do not want any of that fluid on you, or your clothes.
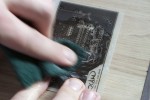
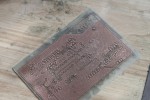
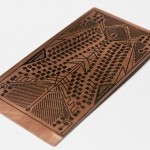
Using the green scrubby pad, scrub the board to get the toner and green foil off the board. You can use acetone to speed the process up a bit and make the job a little easier on your arms. The only drawback to using the acetone is that it melts the toner and the foil which colors the board a bit greenish black. This is not a really a problem, it’s more of a cosmetic thing.
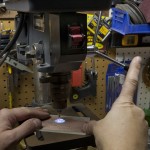
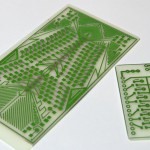
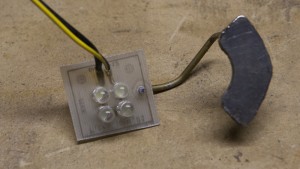 Next up is the drilling of the board. PCBs have little tiny holes and as you may expect, need little tiny drill bits to drill them. I get my bits from Harbor freight as you can occasionally get them on sale. Again, there are many methods to drilling. What I have found to be the easiest is to use my drill press. The problem is your eyes crossing when you are trying to line up the drill bit to the holes. I designed a little magnetic board with 4 white LEDs on it to shine through the hole, and through the board which makes lining up the bit a heck of a lot easier. I keep a 12 v battery on my workbench strictly for this purpose. If the alignment of the top and bottom is the most dreaded part, drilling is probably the second. There are many opportunities to screw up your board during drilling. This is one area where you really want to keep your head straight and stay focused. It is a somewhat long and monotonous process and the holes are small which is a bad combination. I usually keep about a 10 mil of space between the drill tip and the board so the travel to board is at a minimum. While you will want to go fast to get the job done, I have found this to be the key to unsavory holes and broken bits.


