Mar 122014
 

With proper cooling in place, I needed to respond to the needs of my wife… Get this $#!+ off of my kitchen table. Well, not her exact words, but I can read between the lines. Actually, she has been great about it all. I have been fretting about what and where my Shapeoko will live. I was initially thinking about putting having it in the garage. I live in south eastern US and I can see that 1. I will not want to work down in the garage during the heat of the summer. 2. Seeing that polar vortexes seem to like the south, and as you may have seen a little snow can bring the our City to a skreeeeching halt. I will not want to be in the garage for long periods of time. So… looks like it will be in my workshop.

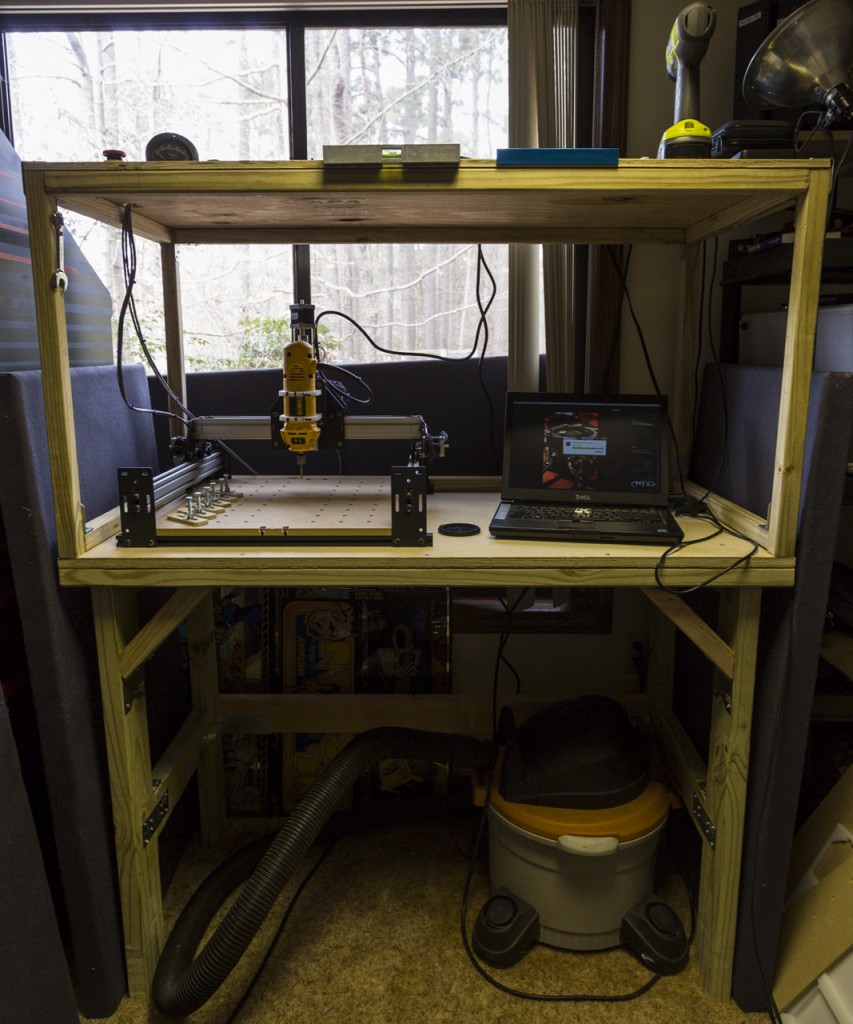
If I am going to be in the workshop that means I need a table. I just finished cleaning off the air hockey table a couple of weeks ago, so that was off limits. Air hockey tables are a high gravity catch all for anything that does not seem to have some other place to live. Dangerous things really. I designed the table to be sort of a box on legs. I wanted a ceiling on it to support the drivers, control box, tools and so on.  It was designed to be long enough that I can grow the Shapeoko to 1 meter. Initially I will probably keep my laptop at the end of the table.

This was all originally supposed to sit on a couple of saw horses for the legs. After setting it up on the saw horses, the whole thing wobbled in an unsettling way. This is not exactly the sort of thing you want to be falling over mid milling job, so, I set off  to build legs that were a little more proper, not to mention structural.

Something that is being thought about (heavily) in the back of my mind is how loud the spindle (Dewalt DW660 router) and the vacuum are. They are each quite loud by themselves, but together they are a whole new monster. They are both running around 90 dB. Sound containment was also considered in the design. While I will not be able to eliminate the noise completely, I would like to knock it down to tolerable levels (without the need for hearing protection). So essentially the sides are built as a cage to house sound panels on the sides. I will also be building a sound panel box for the vacuum as well. Once built they should be able to slide into place. I played with some panels I currently have to test a couple of ideas. I will cover this in another post though.

 Posted by at 10:27 pm
Mar 032014
 

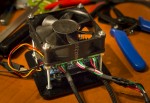
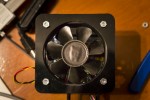
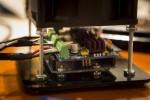
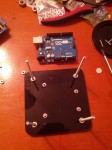
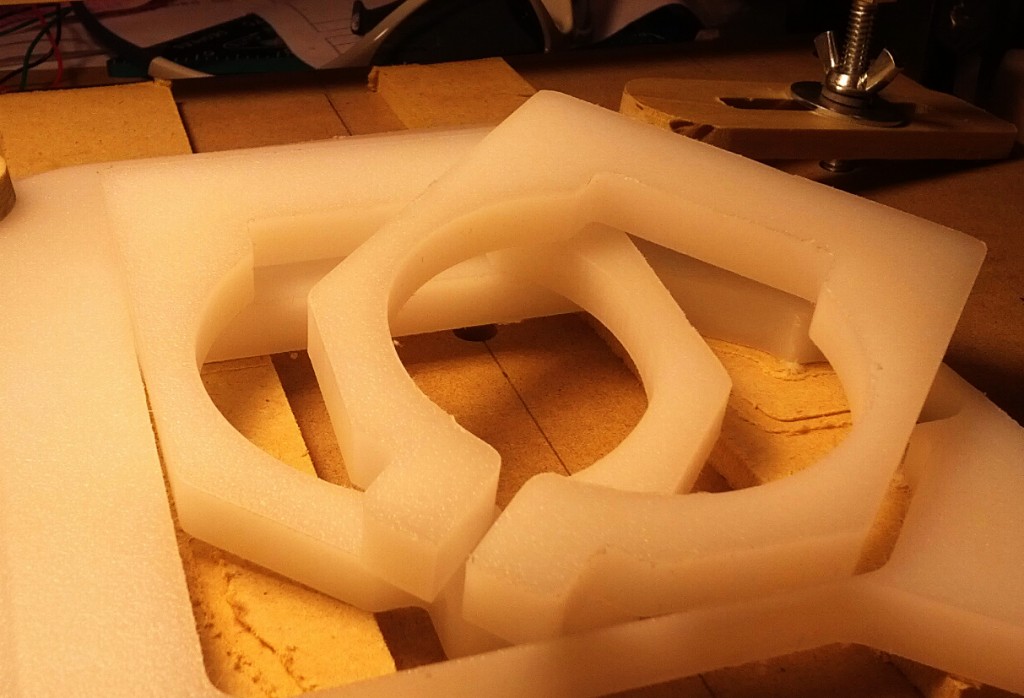
The next thing on my list was getting some air moving over the shield. While I understand that they will run hot and have become okay with the idea (sort of), I still want to take care of it. So I set off to cage the Arduino and shield and make a pseudo cooling stack sort of thing. I had some acrylic left over from another project years ago. While not a crazy hard project, this is my first venture into making something where all the parts really needed to line up. I designed this in a couple of hours in Draftsight. It probably would have gone faster if Game of Thrones was not on. I went through a time where I was buying all sorts of things from garage sales so my son and I could take them apart and grab the goodies inside. I am not sure what it came out of, but I had a 24V fan which I wired into the V-In on the shield. It moves a heck of a lot of air.

I cut’er out and put it all together. I was really pleased how close everything came out. Projects prior to the Shapeoko always ran the great possibility that come assembly time it may, or may not come together all together well. This was precise.


 Posted by at 10:26 pm
Feb 262014
 

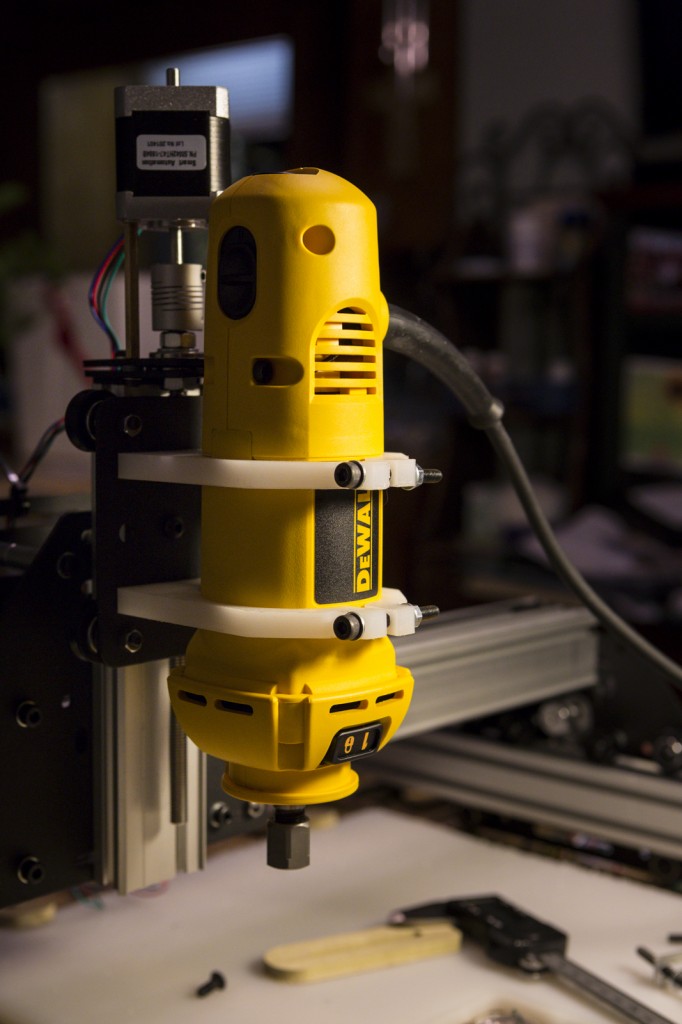
I got the 660 mounted. The amount of run out (or lack there of) when compared to the default knock off Dremel is amazing. I fought that thing so much, I came into the DeWalt with that same expectation. I put the end mill in the spindle and it was straight. I mean, really really straight. There is probably some sort of runout there, but none that I can see on human visual investigation.

 Posted by at 10:34 pm
Feb 252014
 

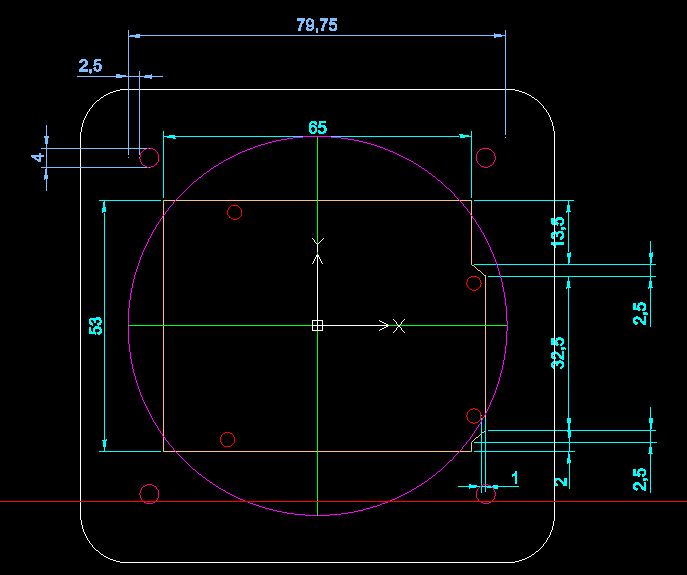
The DW660 mounts are now cut. After learning a valuable lesson about not having stray pieces of wood near the wheels which bogged down the machine during a pass (not sure how it missed it the first couple of passes) sent my machine off by about an inch. I could not figure out what happened at first as it was under one of the Y MakerSlides. All I could see was that my cut was all wrong and I had a Darth moment… NOOOOOooooooo. Once I stopped the machine and started looking at the goofed up cut, I started thinking that is must have lost it’s count some how. My only reason for even thinking this is was because I had read of something somewhere on this board a while back. So class… lesson here? Reading build logs is very beneficial. Learn from others goofs, even if it is in the midst of your own goof.

So, I reset further down the cutting board, and sent the file again. It took it on like a champ. I was quite pleased with the results too. Tonight I will try to drill the holes and get it mounted.


 Posted by at 7:31 pm
Feb 232014
 

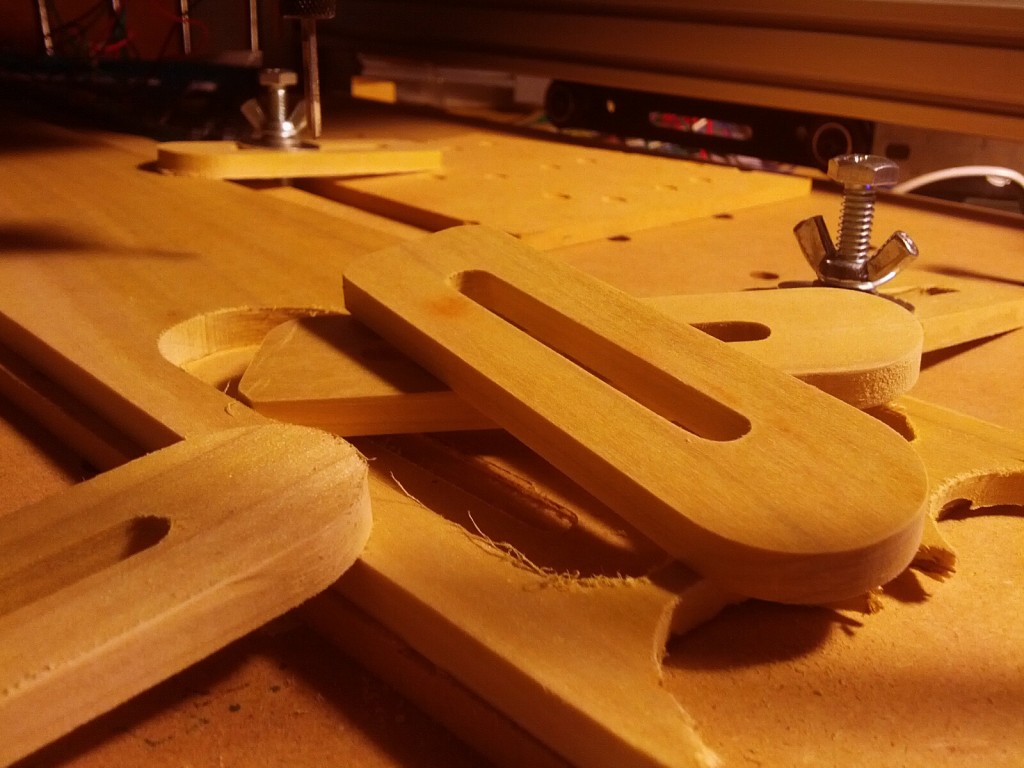
Hopefully this means the end of two sided carpet tape and spring clamps. I have now made six of these. The first came out awesome, but the following 3 were cut too shallow. I finished these with a drill sander. So, I had one which was pristine, and 3 which were a bit wonky. Regardless though, I had 4 hold downs, and that was enough to hold the work with 4 points. So, I decided to make a couple more with the new hold downs. These came out beautifully. I noticed another difference between the hold down and the clamp experiences, and that is how solid the hold downs made everything. I mean, this makes sense as CNC is all about precision, and if you have your work area floating about, it is not going to come out right. Period. What I am learning is that really small spaces / differences / things just slightly askew, are not really small at all. These things result in some pretty big issues. So, I guess my focus needs to be learning how to measure, move, and position thing exactly where I want them, then how to line up the machine to start exactly where I want it to.

 Posted by at 4:59 am
Feb 222014
 

I got my base boards ready for fun time. Holes, holes, and more holes. I wonder how many of these it would take to fill the Albert Hall. Hmmm.

Shown work flow is LibreCad; CamBam; Universal GCode Sender; Mill

 Posted by at 10:22 pm