Apr 222006
 

I am now starting to work on the marquee and trying to come up with a name for this thing. A long time back I initially a design that I was working with. Once I designed my CP graphics, everything changed because the CP really set the tone me. So I am ditching the original marquee design (plus I no longer want to go with the MAME name) not that there is anything wrong with it, just not what I want. I really like Flashback but it has been used in a variety of flavors. But I do like it. I do not want anything that says cade or rama or anything like that.

(AT) Building one of these completely from scratch using only my own plans is an interesting ordeal. I want everything to be original in art, and design. It is a constant puzzle as to how you will solve the next part and trying to for see any future pitfalls before they happen. One thing I remember is how tired I was all the time. In addition to staying up late all the time to work on this, I was always thinking about it. There were so many things to think about too. There was of course the wood working and construction side of things, but there was also weight management, heat management, art design, paint design, computer design, electrical design, sound design, cable management, emulator front end design. I did not write the front end, but I used the front end to the fullest in combination with my own graphics, sound, and animation.

Apr 202006
 

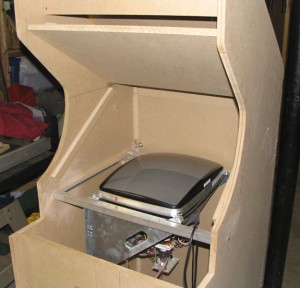
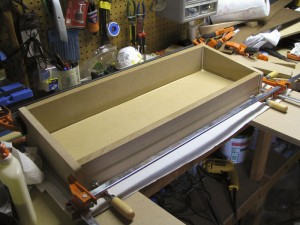
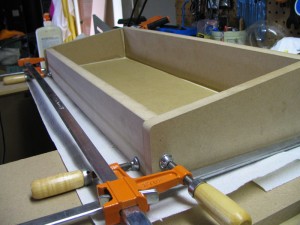
I finally got moving on my speaker board. To help get it in to place, I cut the piece to be a tight fit. I can’t take credit for the exactness of the cut, it just happened that way. I catch a break now and then. I used my rubber mallet to pound it into place and angle. Once I got it where I wanted it, I then glued some blocks behind the speaker board to the cab body. These will be the anchor points for the speaker board. I put tape along the space where the blocks and speaker board would be touching as I did not want to glue the speaker board in permanently in place. I marked where the blocks met the board and then put some right angle brackets in place so that the speaker board would always land at the same spot. Then I trimmed off some of the wood on the speaker boards so that I could get the speaker board in and out more easily now that the attachment blocks were in. I then screwed the speaker board to the wood blocks. Clear as mud?

I also put up the marquee light board. I used 2 small pieces of wood and glued them to the cab body. Once they were dry, I screwed the marquee light board to it.

Being that there are to be electronics in this area, I did not want anything to be permanently held in place with glue. I wanted to have access to the speakers, speaker lights, marquee lights, or anything else that might get tossed in over time. So everything in this area was built with the idea of using screws for final placement.

Apr 202006
 

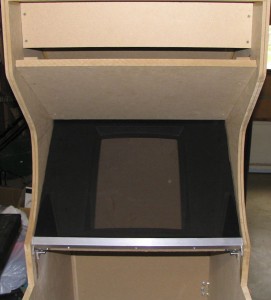
I then went after one of the parts that I have been dreading for quite some time. The bezel set up. The bezel is an important piece as it hides all the guts from the player. It also masks off any stray light that might come off the monitor, into the cab, or the opposite, light from the internal electronics that might leak out. This process actually went much easier than I thought that it would. Either I am getting better at this stuff or God happened to give his blessing that day.

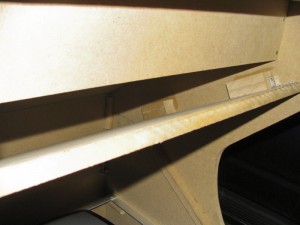
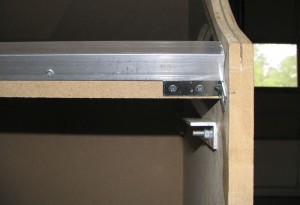
I cut the two pieces that would support the bezel. I used the monitor brace as a guide. I cut 2 boards to the height above the monitor that I thought that the bezel should be and set them on top of the brace. I then used those 2 boards to hold the bezel rails in place. I glued them in. After it had dried, eagerly put the bezel and glass in to see how it would look. The board was too low. So, I cut some very thin strips of mdf (somewhere between 1/16 and 1/8) thick. I glued them to the current bezel rails. Still to low. So I added another set of strips and this time it was right. Whoopee!. I had to figure out how to keep the bezel and glass from slipping out. So I used another piece of angled aluminum. I cut a piece of wood that would span the inside of the cabinet. I secured it to the walls with angle brackets. With the bezel and glass in place, I screwed the aluminum piece to the cross piece.

Now I am working on the CP. So many crucial choices. Crap, what is a guy supposed to do?!?
In the background I have been working on the computer. I have a fresh load of Win XP on it and have loaded MAME and all the important little things we need to make a cab go. I had some struggles with the Arcade VGA graphics card.This was a 3 week nightmare to get set up. It finally took a call to Andy (creator of the card). It was 12 am in the UK. Completely not the voice I expected from him. Cool guy though. We had to force windows to load the drivers. It was rejecting them every way I tried. We thought it was a bad board initially. After we fought with it for a while we got it going. Thanks again Andy if you are reading this.

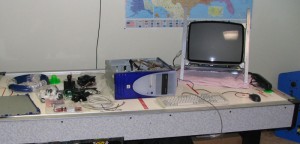
BTW here is my test bench for my cab and monitor. I figured that the air hockey table was as good of place as any.

Apr 012006
 

A few weeks ago I got a call that my grandfather passed away.
I gave up the build progress for a couple of weeks (for good reason).
Death puts a weird spin on everything. Actually I had no real interest in working on this thing at all when I got back. It has taken me about a week to force myself to get back into the swing of things (I have a tendency to let a project go cold if I do not keep up the momentum).

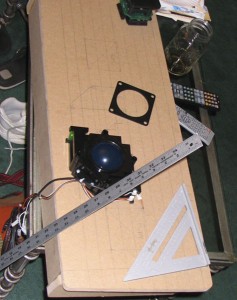
I started my CP. It is going to be 32 in wide and 12 in deep. I decided that I wanted to put t-molding on the rails, so I put the sides on the sides rather than on the centered inside of the front and rear boards. I wanted a slight slope towards the player. There is a 1 in drop from the back to the front. It is a comfortable angle.

I wanted my CP top to only be 5/8 in. thick sp that when I put the plexi glass on top, the t-molding would cover the seem between the board and the plexi. I can not find any anywhere around here, and believe me I have checked a lot of places. So, seeing that I have been doing quite well with the router, I decided to take a go at routing my CP top down to 5/8.
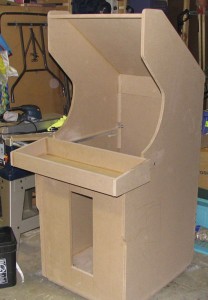
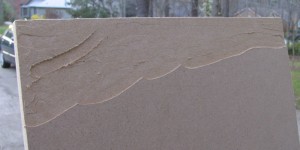
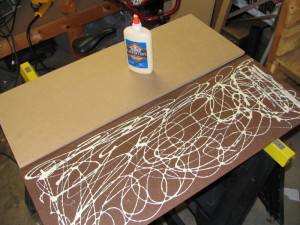
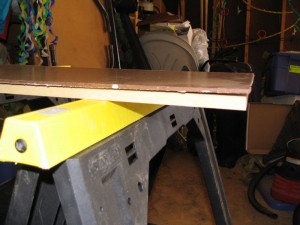
I think that this picture shows my true realization that routing the 3/4 down to 5/8 is a bad idea. Well perhaps not a bad idea, but it’s not a good idea. So the next idea was to glue a 1/8 in piece of hard board to a 1/2 in piece of MDF. This also is a bad (not a good) idea as the hard board has too much flex and will not lay down flat. I put a half a ton of glue down on the hardboard as it had a texture and I wanted to fill in all the little divots. I brushed it so the glue would be even. I put the MDF board down on the hard board. I noticed very quickly that the edges of the hard board would not lay down. I grabbed every heavy object I could find in the garage. This made the problem worse as now it warped all over the place. Oh well.

Reluctantly I gave in a decided to build my CP top out of 3/4 in MDF. This really hoses my idea of using plexi on top of my CP. I am going to use GGG Electric blue t molding. It would look dumb to have the CP top in black as that seems to be the only color you can get 13/16 t-molding.

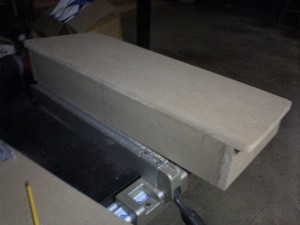
I had another thought (yes it hurt). I could sand a slight bevel from the edge all the way around and still use 3/4 in t-molding. Being that it is under the CP, you would not see it. The picture is not all that great as I had to use my phone camera – Palm 700p. (My wife has the good one and she is in Peru right now.) The top tapers in by 1 inch on each side.
I have been playing around with how I want to paint on this thing. I want the sides to be consistent with the CP top. Just for grins I took the CP top design and threw it on the sides in a rough mock up in Photoshop just to see if I like it. I LOVE it. I think that I will need to scale a few things differently. I will leave out the side bracket and squish the circle thing so it is horizontally longer and vertically thinner. I think that this thing will rock if I can pull off that paint job. I will need to make a stencil but it is not very difficult as far as shapes n such.

Mar 112006
 

I took a break from the auction games and decided to work on my cab. It is a beautiful day. Perfect temperature, lotsa sun, and more so…dry. I got a coin door at a somewhat local arcade / pinball shop. I saw that he was using a half of an old Dynamo cabinet as a TV stand. I asked about the coin door. The guy said that if I pulled myself it, I could have it for $15. It was a pain in the butt to get it out as there was no way to open the back and I could not see what I was doing at all. After a lot of trying, I finally got it out. $15 for a over under. That is an awesome deal.

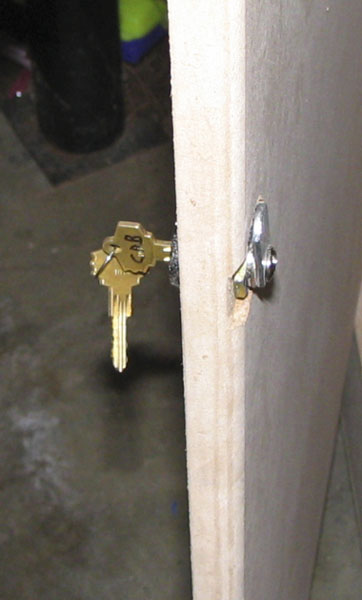
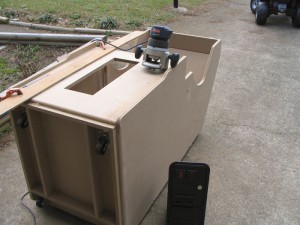
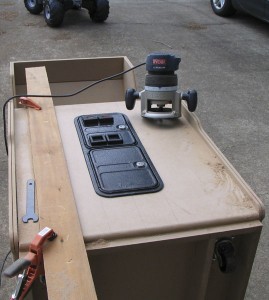
Today I installed the key lock for the back door of the cab. I drilled out the initial hole, then routed the rest. Routing at a 90 degree angle is no fun. Looking back, I should have taken the door off and then routed out the lock hole. But it went fine. The hardest part was figuring out the little gizmo on the lock that determines which direction it turns. Then I routed out the hold for the coin door. This was pretty darn easy.


Feb 232006
 

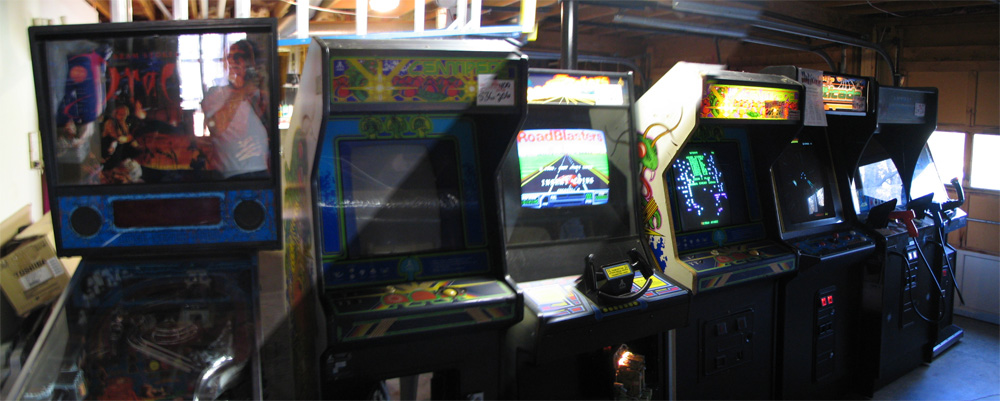
I went to the arcade auction. It was a lot of fun. There was so much to see and play. I came home with a few games. Plus Neal, who went with me, needed to store his games at my place for a little while. Oh darn. So, in my garage I have…
Centipede x 2
Multicade 39 game
ThunderBlade
RoadBlasters
Leathal Enforcers
Air Hockey (Big Sucker, too!!!)